A Step by Step Guide to Champagne Tasting
When you think of serving champagne, you probably think of it being sprayed around at an event, or poured onto a flute tower at a wedding, or an elaborate party trick involving popping the bottle open with a sword. But did you know that just like wine, there is also a proper way to taste champagne? You can get the most out of a bottle of bubbly by following certain steps, to make sure that the champagne is at the optimum condition when it hits your palate. Learn about the art of champagne tasting and appreciate this sparkling wine a little more than you did before.
Chill the bottle
As it is with any sparkling drink, champagne tasting is best if the bubbly is cold. If your champagne isn’t anywhere near chilled, you can quickly lower the temperature of the drink with an ice bath. Fill a bucket with half water and half ice, and submerge the bottle in it for 20 minutes. Make sure the entire bottle, save for the cork, is under water, as water actually conducts temperature a lot better than air.
Alternatively, if you have a bit more time before you have to serve your champagne, you can leave the bottle in the fridge for at least 24 hours. Then, take the bottle out a few minutes before serving to allow the bubbles to return to their normal temperature. As a rule of thumb, the best temperature for champagne tasting is 55 degrees Fahrenheit.
Pop the bottle
Champagne popping is just the first fun phase in the experience of drinking champagne. Mastering the art of the pop is no easy feat, so here’s a pro tip on how to effortlessly pop open a champagne bottle.
First, take the foil off the top of the bottle. Then, press down on the top of the cork while your other hand unwinds the wire around the top of the neck. Make sure to rotate counterclockwise. To be safe, you can even cover the top of the bottle with a towel to prevent bursts and making a mess.
Next, hold the cork down with your non-dominant hand. Yes, use your weaker hand to apply pressure, so that your dominant hand is free to twist the bottle. Here lies the trick – it’s not the cork that you twist; it’s the bottle!
While twisting the bottle, the cork will start to give. This is when you’ll want to apply even more pressure on the cork, so that it doesn’t immediately shoot out and hurt anyone! The bottle will usually start to “squeak” as carbonation builds and pushes the cork out. If you’re doing it right, the cork will just fall into your palm!
Pour out the champagne
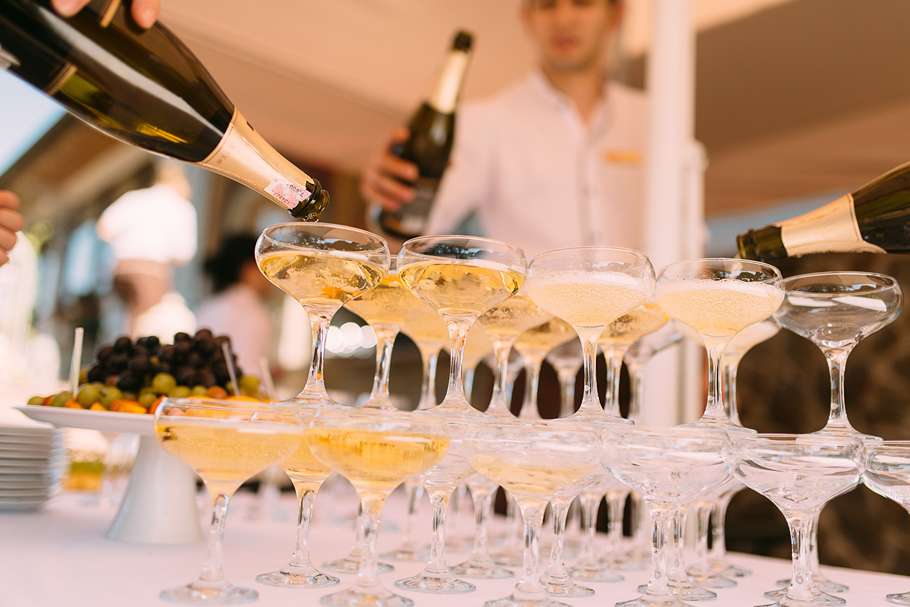
Glassware will affect the way your champagne tastes. You want a glass that isn’t too wide at the mouth, so that carbonation can be contained for a longer period of time. For this purpose, you can use a standard Burgundy glass or white wine glass. However, the most common glassware for champagne is the flute.
If you’re consuming champagne, fill the flute up as much as you prefer. Specifically for champagne tasting, pour yourself about 2 oz of champagne – enough to smell and taste.
Take a whiff
Once the champagne is in the flute, you can take a whiff of the drink. Unlike wine tasting, champagne tasting doesn’t require swirling the champagne in the glass. This is because the bubbles release the aromas for you when they naturally rise to the surface of the flute.
When slowly inhaling the champagne’s nose, pay attention to the aromas you notice and the intensity of each. To determine the latter, consider how easy it is to determine what you’re smelling. The first aroma you notice would be the most intense. Common champagne aromas are flora, yeasty, and fruity.
Take a sip
Now it’s time for the best part – actually tasting the champagne! Taking your time to let the champagne bubbles linger on your palate will allow you to notice more of the champagne’s flavours. It also allows your nose to pick up on scents you may not have picked up when simply taking a whiff from the glass. Most importantly, savour the champagne!


